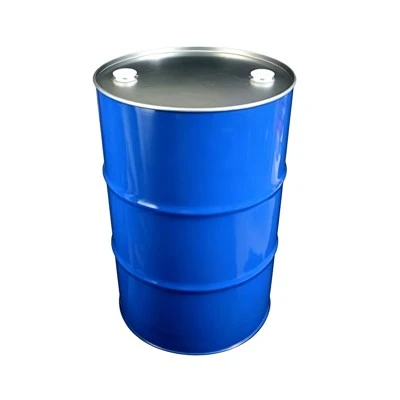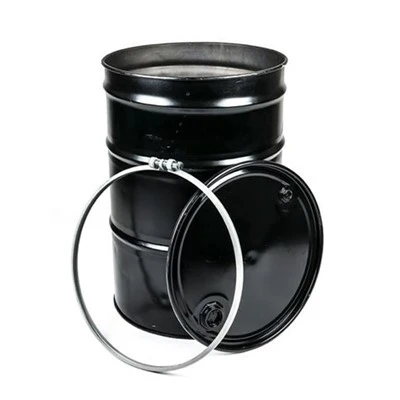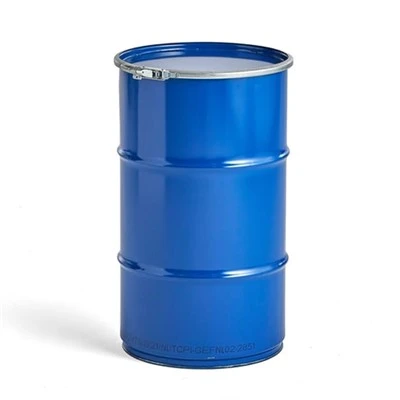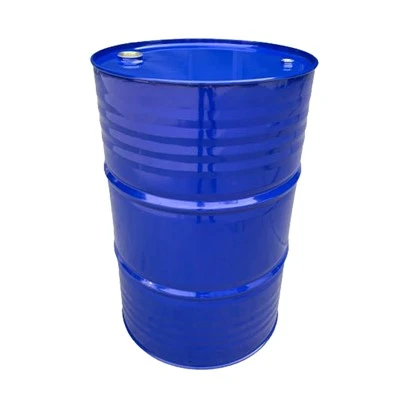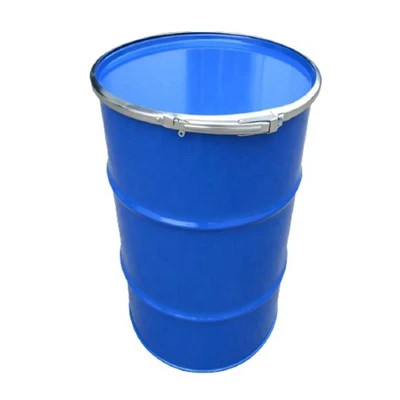


Hey there, chicken keepers! If you're looking for an affordable and durable solution to feed your flock, you've come to the right place. I'm a supplier of black metal barrels, and I'm here to show you how to transform one of these rugged containers into a top-notch chicken coop feeder.
Why Choose a Black Metal Barrel?
First things first, let's talk about why using a black metal barrel for your chicken feeder is a great idea. These barrels are made to last. They're built tough, so they can handle the wear and tear of being in a chicken coop. Whether it's the pecking of the chickens or the occasional bump from the coop door, a black metal barrel can take it.
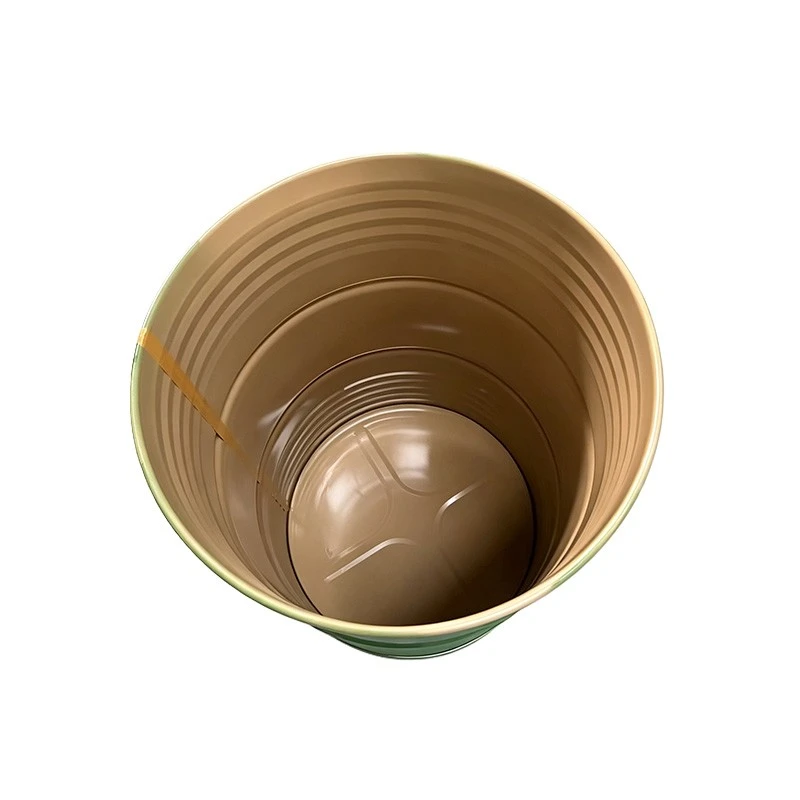
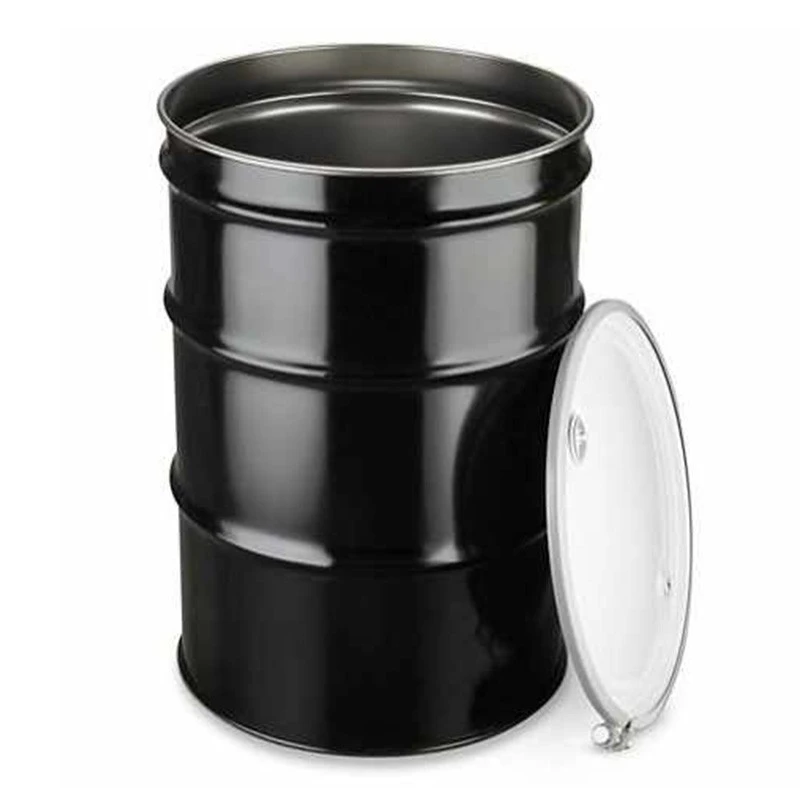
Another plus is that metal barrels are weather-resistant. Rain, snow, or shine, your chicken feed will stay protected inside. And since they're black, they can absorb some heat from the sun, which can be useful in colder months to keep the feed from freezing.
Selecting the Right Barrel
As a supplier, I've got a bunch of different black metal barrels to choose from. You can check out our 55 Gallon Open Top Drum, which is a popular choice. It's got a good size, so it can hold a decent amount of chicken feed. If you need something a bit larger, the 208l Open-head Steel Drum might be more up your alley.
For those who want a more basic option, the Unlined 55 Gallon Steel Drum is a great pick. And if you're worried about keeping the feed fresh and airtight, take a look at our Airtight Steel Drum. There's also the 200l Open-head Steel Drum, which offers a nice balance of size and functionality.
Tools and Materials You'll Need
Before you start modifying your barrel, gather the following tools and materials:
- A drill with various drill bits
- A jigsaw or reciprocating saw
- Measuring tape
- Marker
- Metal file
- Chicken wire or hardware cloth
- Screws and a screwdriver or a drill with a screwdriver bit
- Silicone sealant
- Hose clamps (optional)
Step-by-Step Modification Process
Step 1: Cleaning the Barrel
The first thing you need to do is give your barrel a good cleaning. Even if it's new, there might be some dust or debris inside. Use a mild detergent and water to scrub the inside and outside of the barrel. Rinse it thoroughly and let it dry completely. This will ensure that your chicken feed stays clean and free from any contaminants.
Step 2: Measuring and Marking
Decide how many feeding ports you want to have on your feeder. A good rule of thumb is to have one port for every 3 - 4 chickens. Use your measuring tape and marker to mark the spots where you'll cut the holes for the feeding ports. Make sure the holes are big enough for the chickens to stick their heads in and eat but not so big that they can get inside the barrel.
Step 3: Cutting the Holes
Once you've marked the spots, it's time to cut the holes. Use a drill to make starter holes at the corners of the marked areas. Then, use a jigsaw or reciprocating saw to cut out the holes. Be careful when using these tools, and always wear safety goggles. After cutting the holes, use a metal file to smooth out the edges to prevent any injuries to the chickens.
Step 4: Attaching the Chicken Wire or Hardware Cloth
To prevent the chickens from scratching the feed out of the barrel, you'll need to attach chicken wire or hardware cloth to the inside of the feeding ports. Cut the wire or cloth to the appropriate size and use screws to attach it to the inside of the holes. Make sure it's securely fastened, so the chickens can't pull it off.
Step 5: Adding a Lid (Optional)
If you're using a barrel without a lid, you might want to add one to keep the feed dry and protected from pests. You can use a piece of plywood or a metal sheet to create a lid. Cut it to fit the top of the barrel and attach hinges to one side. You can also add a latch to keep the lid closed.
Step 6: Sealing the Barrel
To make sure the feeder is airtight and watertight, use silicone sealant to seal any gaps or joints. Apply the sealant around the edges of the holes, the lid, and any other areas where air or water could get in. Let the sealant dry completely before using the feeder.
Step 7: Mounting the Feeder
Decide where you want to place the feeder in the chicken coop. It should be in a location that's easy for the chickens to access but out of the way of any areas where they might scratch or dig. You can mount the feeder on the wall using screws or brackets. Make sure it's stable and won't tip over.
Tips for Using Your New Chicken Coop Feeder
- Fill the feeder with the appropriate amount of chicken feed. Overfilling can lead to waste, while underfilling can leave the chickens hungry.
- Check the feeder regularly to make sure it's clean and free from mold or pests.
- If you notice any damage to the feeder, such as rust or holes, repair it as soon as possible to prevent further issues.
- You can also use the feeder to dispense other items, such as grit or scratch grains.
Contact Us for Your Barrel Needs
If you're interested in purchasing a black metal barrel for your chicken coop feeder or have any questions about the modification process, don't hesitate to reach out. We're here to help you get the right product for your needs. Whether you need a small barrel or a large one, we've got you covered.
References
- "Chicken Keeping for Dummies" by Gail Damerow.
- Various online forums and chicken keeping blogs.